

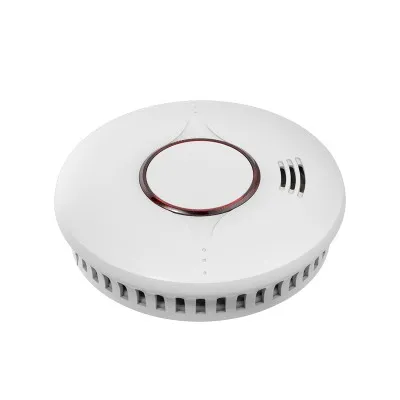




Hey there! As a supplier of Hardwired Heat Detectors, I often get asked about how to calibrate these nifty devices. Calibration is super important to make sure your heat detector works just right when you need it most. So, let's dive into the details of how to calibrate a hardwired heat detector.
Why Calibration Matters
First off, why do we even bother with calibration? Well, over time, the sensors in heat detectors can drift a bit. This means they might not detect heat as accurately as they should. Calibration helps to adjust the detector so that it can accurately sense the temperature and trigger the alarm when it reaches the set threshold. It's like tuning a musical instrument to make sure it plays the right notes. Without proper calibration, your heat detector might not go off when there's a real fire, or it could give false alarms, which is a real pain in the neck.
What You'll Need
Before you start calibrating your hardwired heat detector, you'll need a few things. You'll need a reliable temperature source, like a calibrated heat gun or a temperature-controlled oven. You'll also need a thermometer to measure the actual temperature. And of course, you'll need the user manual for your specific heat detector. The manual will have all the information you need about the calibration process, including the recommended temperature settings and any special procedures.
Step-by-Step Calibration Process
Now, let's get into the actual calibration process. Here's a step-by-step guide:
Step 1: Safety First
Before you do anything, make sure you turn off the power to the heat detector. This is really important to avoid any electrical shocks or other accidents. You don't want to end up in the hospital just because you were in a hurry to calibrate your detector.
Step 2: Locate the Calibration Points
Next, you'll need to locate the calibration points on the heat detector. These are usually small screws or potentiometers that you can adjust to change the sensitivity of the detector. The user manual will tell you exactly where these points are and how to access them.
Step 3: Set the Temperature
Now it's time to set the temperature of your calibration source. Refer to the user manual to find out the recommended temperature for calibration. For most hardwired heat detectors, this is usually around 57°C (135°F). Use your thermometer to make sure the temperature is accurate.
Step 4: Apply the Heat
Once you've set the temperature, apply the heat source to the heat detector. Make sure the heat is evenly distributed over the sensor area. You can use a heat gun to direct the heat towards the detector, or you can place the detector in a temperature-controlled oven.
Step 5: Observe the Response
As you apply the heat, observe the response of the heat detector. The detector should start to sense the heat and eventually trigger the alarm. If the alarm doesn't go off within a reasonable amount of time, you'll need to adjust the calibration points. Use a small screwdriver to turn the screws or potentiometers until the detector triggers the alarm at the correct temperature.


Step 6: Repeat the Process
After you've made the adjustments, repeat the calibration process to make sure the detector is working correctly. Apply the heat again and check the response. If necessary, make further adjustments until the detector is calibrated accurately.
Step 7: Test the Alarm
Once you're satisfied with the calibration, turn the power back on to the heat detector and test the alarm. You can do this by applying a small amount of heat to the detector using a heat gun or a lighter (be careful not to get too close!). The alarm should go off within a few seconds. If it doesn't, double-check your calibration and make any necessary adjustments.
Tips and Tricks
Here are a few tips and tricks to make the calibration process easier and more accurate:
- Make sure you use a reliable temperature source. A cheap heat gun or an inaccurate thermometer can give you false readings, which can lead to an incorrectly calibrated detector.
- Take your time and be patient. Calibration can be a bit of a trial-and-error process, especially if you're doing it for the first time. Don't rush it and make sure you follow the instructions carefully.
- Keep a record of your calibration results. This can be helpful for future reference and to demonstrate compliance with safety regulations.
Other Related Products
If you're interested in other types of heat detectors, we also offer Wireless Heat Alarm and One go all go smoke alarm CE BSI. These are great options if you're looking for more flexibility or additional features. And if you prefer an AC-powered heat detector, we have the AC Power Heat Alarm as well.
Contact Us for Purchasing
If you're in the market for a hardwired heat detector or any of our other products, don't hesitate to reach out to us. We're here to help you find the right solution for your needs. Whether you're a homeowner, a business owner, or a contractor, we have the expertise and the products to keep you safe. So, if you have any questions or want to discuss your purchasing options, just drop us a line. We'll be happy to assist you.
References
- Manufacturer's user manual for the hardwired heat detector
- Industry standards and guidelines for heat detector calibration


