

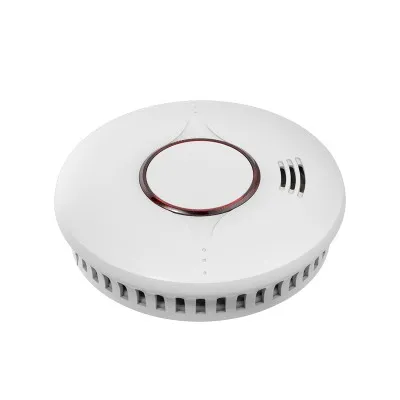


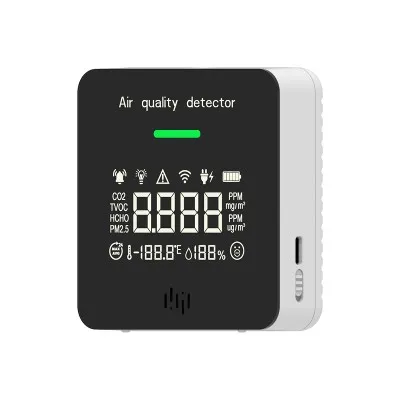


As a supplier of Wireless Heat Detectors, I understand the importance of keeping your devices up - to - date with the latest firmware. Firmware updates not only enhance the performance of the detector but also ensure its safety and reliability. In this blog post, I will guide you through the process of updating the firmware of a wireless heat detector.
Why Firmware Updates are Necessary
Firmware is the software that runs on your wireless heat detector. It controls the detector's functions, such as temperature sensing, alarm triggering, and communication with other devices. Over time, manufacturers release firmware updates to fix bugs, improve performance, and add new features.
For example, an update might improve the accuracy of temperature readings, making the detector more reliable in detecting heat sources. It could also enhance the communication protocol, allowing the detector to connect more stably with other devices in your security system. By keeping your wireless heat detector's firmware up - to - date, you can ensure that it operates at its best and provides the highest level of protection.
Prerequisites for Firmware Update
Before you start the firmware update process, there are a few things you need to do:
- Check Compatibility: Make sure that the firmware update is compatible with your specific model of the Wireless Heat Detector. Different models may require different firmware versions, so it's crucial to get the right one. You can usually find the model number on the detector itself or in the user manual.
- Backup Data: Although most firmware updates do not erase data, it's always a good idea to backup any important settings or configurations. This can save you from potential data loss in case something goes wrong during the update process.
- Charge the Detector: Ensure that your wireless heat detector has enough battery power or is properly connected to a power source. A low - battery situation during the update can cause the process to fail and potentially damage the detector.
Step - by - Step Guide to Update the Firmware
Step 1: Download the Firmware
The first step is to download the latest firmware for your wireless heat detector. You can usually find the firmware on the manufacturer's official website. Navigate to the support section of the website and look for the firmware download page. Enter your detector's model number to find the appropriate firmware version.
Once you've found the correct firmware file, click the download link. Make sure to save the file in a location on your computer where you can easily find it, such as the Downloads folder.
Step 2: Prepare the Update Tool
Some wireless heat detectors require a specific update tool to install the firmware. Check the user manual or the manufacturer's website to see if you need an update tool. If so, download and install it on your computer.
The update tool is usually a software application that allows you to communicate with the detector and transfer the firmware. Follow the installation instructions provided with the update tool carefully.
Step 3: Connect the Detector
Connect your wireless heat detector to your computer using the appropriate cable. This could be a USB cable, depending on the detector model. Make sure the connection is secure and that the detector is powered on.


Open the update tool on your computer. The tool should detect the connected detector automatically. If it doesn't, check the connection and make sure the detector is in the correct mode for firmware update. Some detectors may require you to put them in a special "update" mode by pressing a specific button combination.
Step 4: Install the Firmware
In the update tool, locate the option to install the firmware. This is usually a button labeled "Update" or "Install Firmware". Click on this button and select the firmware file you downloaded earlier.
The update tool will then start the firmware installation process. This may take a few minutes, depending on the size of the firmware file and the speed of your computer. Do not disconnect the detector or turn off your computer during this process, as it could cause the update to fail.
Step 5: Verify the Update
Once the installation is complete, the update tool will usually display a message indicating that the firmware has been successfully installed. You can also check the detector's settings or status display to confirm the update.
Some detectors may automatically restart after the firmware update. If not, you can manually restart the detector to apply the new firmware.
Troubleshooting
If you encounter any problems during the firmware update process, here are some common issues and solutions:
- Connection Issues: If the update tool cannot detect the detector, check the cable connection. Make sure the cable is properly plugged in and that the detector is powered on. You may also try using a different cable or USB port on your computer.
- Update Failure: If the firmware update fails, it could be due to a corrupted firmware file or a problem with the detector. Try downloading the firmware file again and repeat the update process. If the problem persists, contact the manufacturer's support team for further assistance.
- Compatibility Issues: If the firmware is not compatible with your detector, you may see an error message during the update process. Double - check the model number and make sure you are using the correct firmware version.
Conclusion
Updating the firmware of your wireless heat detector is a crucial step in maintaining its performance and reliability. By following the steps outlined in this blog post, you can ensure that your detector is always running the latest software.
If you are interested in purchasing our Wireless Heat Detector, Intelligent Heat Detector, or Mains Power Heat Detector With Battery, please feel free to contact us for more information and to discuss your specific requirements. We are committed to providing high - quality products and excellent customer service.
References
- Manufacturer's user manual for the wireless heat detector
- Manufacturer's official website for firmware updates and support


