





What is the installation process of a Heat Detector with Cable?
As a supplier of Heat Detectors with Cable, I'm often asked about the installation process. A heat detector with cable is an essential device for fire safety, and understanding its installation is crucial for ensuring its proper functioning. In this blog, I'll walk you through the step - by - step installation process of a heat detector with cable.
Step 1: Planning and Preparation
Before you start the installation, you need to do some planning. First, you should determine the optimal locations for the heat detectors. According to fire safety standards, heat detectors should be installed in areas where there is a high risk of fire, such as kitchens, boiler rooms, and storage areas.
You also need to check the electrical requirements. Ensure that the power source can support the heat detector. Check the voltage and amperage ratings of the detector and make sure they match the available power supply. Gather all the necessary tools, including a drill, screwdriver, wire strippers, and a voltage tester.
Step 2: Mounting the Heat Detector
Once you've determined the locations, it's time to mount the heat detector. Most heat detectors come with a mounting bracket. Use a drill to make holes in the wall or ceiling at the marked locations. Insert wall plugs into the holes if necessary. Then, attach the mounting bracket to the wall or ceiling using screws.
Place the heat detector onto the mounting bracket and secure it in place. Make sure the detector is level and firmly attached. Some heat detectors may have specific mounting instructions, so it's important to follow the manufacturer's guidelines.
Step 3: Connecting the Cable
The cable connection is a critical part of the installation process. First, strip the insulation from the ends of the cable. Usually, the cable has two or more wires, including a power wire and a signal wire.
Connect the power wire to the appropriate power source. You may need to use a wire nut or terminal block to make a secure connection. Make sure to turn off the power before making any electrical connections to avoid electrical shock.
Next, connect the signal wire to the control panel or alarm system. The signal wire is used to transmit the heat detection signal to the control panel. Again, follow the manufacturer's instructions for proper wiring.
Step 4: Testing the Heat Detector
After the installation and wiring are complete, it's time to test the heat detector. Turn on the power and wait for the detector to initialize. Most heat detectors have a test button. Press the test button to simulate a heat event.
If the detector is working properly, it should trigger an alarm. Check the control panel or alarm system to ensure that the signal is being received correctly. If there are any issues, double - check the wiring connections and make sure the detector is properly mounted.
Step 5: Final Checks and Documentation
Once the heat detector has passed the test, do a final check of the installation. Make sure all the connections are secure, and the detector is functioning properly. Document the installation, including the location of the detector, the date of installation, and any test results.
This documentation is important for maintenance and compliance purposes. It can also be useful in case of an emergency or for insurance claims.
Different Types of Heat Detectors and Their Installation Considerations
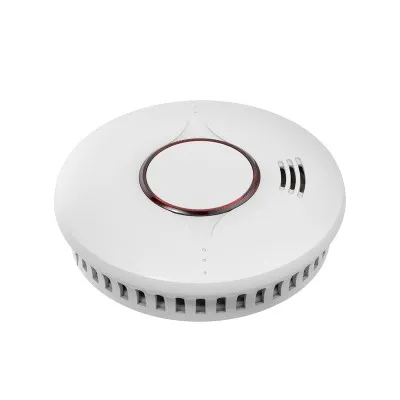
There are different types of heat detectors, such as Wired Heat Detector and Wireless Heat Alarm.
Wired heat detectors are connected directly to the power supply and the alarm system. They are more reliable in terms of power and signal transmission. However, the installation of wired heat detectors may be more complex, as it requires running cables through walls and ceilings.
Wireless heat alarms, on the other hand, are easier to install. They are powered by batteries and communicate wirelessly with the alarm system. This makes them a great option for retrofit installations or areas where running cables is difficult.
Fire Alarm Heat detectors are often interlinked, which means that if one detector is triggered, all the other detectors in the system will also go off. This provides an additional layer of safety. When installing interlinked heat detectors, make sure to follow the specific instructions for the interlinking process.
Troubleshooting Common Installation Issues
During the installation process, you may encounter some common issues. For example, if the heat detector does not turn on, check the power supply. Make sure the power switch is on and the connections are secure.


If the detector is triggering false alarms, it could be due to a variety of reasons. Check for sources of heat or interference near the detector, such as heaters or electrical equipment. You may also need to adjust the sensitivity settings of the detector.
Why Choose Our Heat Detectors with Cable?
Our heat detectors with cable are designed with the latest technology to provide reliable and accurate heat detection. They are built to meet the highest safety standards and are easy to install. We offer a wide range of heat detectors to suit different applications and requirements.
Whether you need a wired heat detector for a commercial building or a wireless heat alarm for a residential property, we have the right solution for you. Our products are backed by excellent customer support, and we are always available to assist you with the installation process.
Contact Us for Purchase and Consultation
If you are interested in purchasing our heat detectors with cable, or if you have any questions about the installation process, we encourage you to contact us. Our team of experts is ready to provide you with detailed information and help you choose the right product for your needs. We look forward to working with you to ensure your fire safety.
References
- NFPA 72: National Fire Alarm and Signaling Code
- Manufacturer's installation manuals for heat detectors


