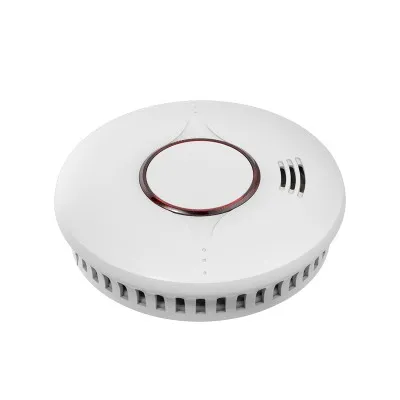


Configuring the settings of a wireless heat detector is a crucial step to ensure its optimal performance and reliability in detecting heat and potential fire hazards. As a supplier of Wireless Heat Detectors, I understand the importance of providing clear and comprehensive guidance on this process. In this blog post, I will walk you through the essential steps to configure your wireless heat detector settings effectively.
Step 1: Unboxing and Inspection
When you receive your wireless heat detector, carefully unbox it and inspect all the components. Ensure that you have the detector unit, mounting accessories, batteries (if required), and any other additional items mentioned in the package. Check for any visible damage or defects on the device. If you notice any issues, contact our customer support immediately for assistance.
Step 2: Choose the Right Location
Selecting an appropriate location for your wireless heat detector is vital for its functionality. The detector should be installed in areas where heat can be easily detected, such as near sources of heat, in kitchens, attics, or rooms with high electrical equipment. Avoid placing it near air vents, windows, or areas with excessive dust or moisture, as these factors can affect its performance.
Step 3: Powering the Detector
Most wireless heat detectors can be powered by batteries or connected to a mains power supply. If you choose the battery option, insert the recommended batteries into the battery compartment following the polarity markings. If you opt for mains power, you might consider our Mains Power Heat Detector With Battery, which provides a backup power source in case of a power outage. Connect the detector to the power outlet using the provided power cord.


Step 4: Pairing the Detector
If your wireless heat detector is part of a system, you need to pair it with the control panel or other devices in the network. Refer to the user manual for specific instructions on how to pair the detector. Usually, this involves entering a pairing mode on the detector and the control panel and following the on - screen prompts. Make sure the devices are within the recommended range during the pairing process.
Step 5: Setting the Sensitivity Level
The sensitivity of the heat detector determines how quickly it will trigger an alarm in response to heat. You can adjust the sensitivity level according to your specific needs. In areas where false alarms are a concern, such as in industrial settings with high - temperature machinery, you may want to set a lower sensitivity. Conversely, in areas where early detection is critical, like in residential bedrooms, a higher sensitivity level may be appropriate.
Step 6: Testing the Detector
After configuring the settings, it is essential to test the detector to ensure it is working correctly. Most wireless heat detectors have a test button on the device. Press the test button and wait for the alarm to sound. If the alarm does not go off, check the battery level, the power connection, and the settings again. You can also use a heat source, such as a hair dryer, from a safe distance to simulate a heat event and verify the detector's response.
Step 7: Customizing Additional Features
Some of our wireless heat detectors, like the Intelligent Heat Detector, come with additional features such as remote monitoring, self - diagnostic capabilities, and integration with other smart home devices. You can customize these features according to your preferences. For example, you can set up notifications on your smartphone when the detector is triggered.
Step 8: Regular Maintenance and Checks
To keep your wireless heat detector in optimal condition, perform regular maintenance checks. This includes checking the battery level (if applicable), cleaning the detector to remove dust and debris, and testing the detector periodically. Replace the batteries as recommended by the manufacturer to ensure continuous operation.
Step 9: Troubleshooting
If you encounter any problems with your wireless heat detector, such as false alarms, non - functioning alarm, or connectivity issues, refer to the troubleshooting section of the user manual. Common solutions include checking the power supply, resetting the detector, and ensuring that there are no interference sources nearby. If the problem persists, contact our technical support team for further assistance.
Step 10: Integration with Other Safety Systems
For enhanced safety, you can integrate your wireless heat detector with other safety systems in your home or business. For example, you can connect it to Hard Wired Heat Alarms or a central monitoring station. This ensures that in case of a heat event, multiple alarms are triggered, and the appropriate authorities can be notified promptly.
As a reliable supplier of Wireless Heat Detectors, we are committed to providing high - quality products and excellent customer service. Our heat detectors are designed to meet the highest safety standards and offer advanced features for your peace of mind. If you are interested in purchasing our wireless heat detectors or have any questions about the configuration process, please feel free to contact us. We are here to assist you in making the right choice for your safety needs and ensuring that your wireless heat detector is configured correctly.
References
- Manufacturer's user manuals for wireless heat detectors
- Industry standards and guidelines for heat detector installation and configuration


