






Installing an electrical socket in a concrete wall is a task that requires careful planning, the right tools, and a good understanding of electrical safety. As a reputable electrical socket supplier, we are here to provide you with comprehensive guidance on this process. This article will take you through each step, ensuring that you can complete the installation safely and effectively.
Step 1: Gather the Necessary Tools and Materials
Before you start the installation, make sure you have all the required tools and materials. Here's a list of what you'll need:
- Tools: A hammer drill with a masonry bit, a chisel, a screwdriver (both flat - head and Phillips), wire strippers, electrical pliers, a voltage tester, and a level.
- Materials: An Electrical Switch Socket of your choice, electrical cable, cable clamps, a mounting box suitable for concrete walls, and wall plugs if necessary.
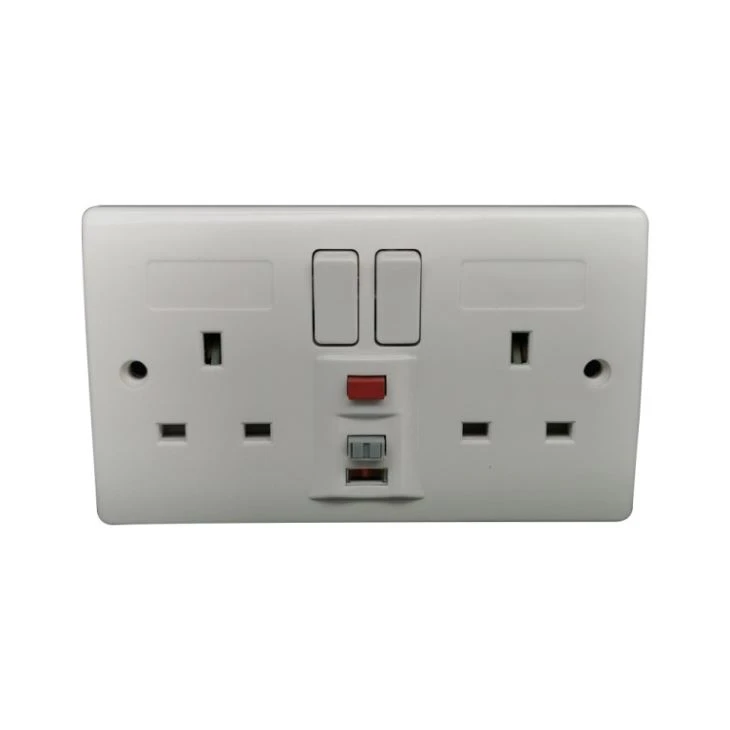
Our company offers a wide range of high - quality electrical sockets, including the Switched Socket, which provides added convenience by allowing you to turn the power on and off without unplugging the device.
Step 2: Locate the Power Source
The first thing to do is to locate the nearest power source. This could be an existing electrical circuit or a main distribution board. It's crucial to ensure that the circuit can handle the additional load of the new socket. If you're not sure, it's advisable to consult a qualified electrician.
Before working on any electrical circuit, always turn off the power at the main switch or circuit breaker. Use a voltage tester to double - check that the power is off before proceeding. This is a fundamental safety measure that cannot be overlooked.

Step 3: Mark the Location for the Socket
Decide where you want to install the electrical socket. Use a level to ensure that the marking is straight and at the correct height. The standard height for a socket is around 300 - 450mm above the floor, but this can vary depending on your needs.
Once you've marked the location, use a pencil to draw the outline of the mounting box on the concrete wall. Make sure the outline is large enough to accommodate the box and any additional space for wiring.
Step 4: Drill and Chisel the Wall
Using a hammer drill with a masonry bit, drill holes around the outline of the mounting box. Start with small holes and gradually increase the size until you can fit the box. Be careful not to drill too deep, as this could damage any hidden pipes or cables.
After drilling the holes, use a chisel to remove the excess concrete between the holes. This will create a recess for the mounting box. Take your time and work carefully to ensure a clean and even recess.
Step 5: Install the Mounting Box
Place the mounting box into the recess in the wall. Use a level to check that it is straight and level. If necessary, use wall plugs to secure the box to the wall. Make sure the box is firmly fixed in place, as any movement could cause problems with the socket installation later on.
Step 6: Run the Electrical Cable
Measure and cut the electrical cable to the appropriate length. Make sure the cable is long enough to reach from the power source to the mounting box with some extra length for connections.
Run the cable through the cable clamps and into the mounting box. Use electrical tape to secure the cable in place. Make sure the cable is not pinched or damaged during this process.
Step 7: Connect the Wires
Before making any wire connections, strip the insulation from the ends of the electrical cable using wire strippers. Usually, an electrical cable has three wires: live (brown), neutral (blue), and earth (green/yellow).
Match the wires in the cable to the corresponding terminals on the Electrical Switch Socket. Use a screwdriver to tighten the terminal screws and ensure a secure connection.
If you're installing a Safety Power Use 250V 1 Gang 13A Switched Socket With RCD Protection 30mA & 10mA, make sure to follow the manufacturer's instructions carefully when connecting the RCD (Residual Current Device). The RCD provides an extra layer of protection against electric shock by quickly cutting off the power if it detects a fault.
Step 8: Install the Socket
Once the wires are connected, carefully place the socket into the mounting box. Align the holes in the socket with the holes in the box and use screws to secure the socket in place.
Step 9: Test the Socket
After installing the socket, turn the power back on at the main switch or circuit breaker. Use a voltage tester to check if the socket is live. Plug in a small electrical device, such as a lamp, to test if the socket is working properly.
If the device does not work or if you notice any problems, turn off the power immediately and check your connections. It's better to be safe and double - check everything than to risk an electrical hazard.
Safety Precautions
- Turn off the power: Always turn off the power at the main switch or circuit breaker before working on any electrical installation.
- Use the right tools: Make sure you use tools that are suitable for electrical work and in good condition.
- Wear safety gear: Wear safety goggles and gloves to protect yourself from concrete dust and potential electrical shock.
- Follow the instructions: Read and follow the manufacturer's instructions for the electrical socket and any other tools or materials you use.
Conclusion
Installing an electrical socket in a concrete wall is a challenging but achievable task if you follow the right steps and take the necessary safety precautions. As an electrical socket supplier, we are committed to providing you with high - quality products and the knowledge you need to complete your electrical projects safely.
If you're interested in purchasing high - quality electrical sockets for your next project, we invite you to contact us for procurement and further discussions. We have a wide range of sockets to meet your specific requirements, whether it's for residential, commercial, or industrial use.
References
- Electrical Installation Regulations (local relevant edition)
- Manufacturer's instructions for electrical sockets and tools used.


